I briefly touched on my OpenSSH agent to WSL2 solution back in 2021. Today find myself setting up a new Windows 11 laptop and running into a couple of different issues, and ultimately using a slightly different solution than before, so here is the short writeup glossing over the areas that lead me to get a little stuck, and hopefully outlining a good set of commands.
In my old .bashrc file, I found a comment linking me to the rupor-github/wsl-ssh-agent GitHub repository which was my first set of reading, specifically the WSL2 compatibility section. The main sticking issue for me out of the box was a miss match in the OpenSSH version between Windows and WSL2, with Windows starting on 8.6 but WSL2 with Ubuntu starting on 8.9. This lead to errors such as:
- Error connecting to agent: No such file or directory
- error fetching identities: invalid format
- Could not open a connection to your authentication agent.
And more…
Setup
The solution still needs npiperelay.exe on the Windows side and socat on WSL to work, so…
I installed npiperelay.exe using Chocolatey from PowerShell
choco install npiperelayAnd installed socat on WSL2 from bash.
sudo apt install socatIn order to get the OpenSSH versions to match, I first checked what Ubuntu in WSL2 had shipped with.
adam@adshlb:~$ ssh -v localhost
OpenSSH_8.9p1 Ubuntu-3ubuntu0.1, OpenSSL 3.0.2 15 Mar 2022
I want a Windows OpenSSH version that matches, so I checked in Chocolatey for the available versions.
PS C:\Users\adam> winget show Microsoft.OpenSSH.Beta --versions
Found OpenSSH Beta [Microsoft.OpenSSH.Beta]
Version
-------
9.2.2.0
9.2.0.0
9.1.0.0
8.9.1.0Code language: CSS (css)
8.9.1.0 should work with the Ubuntu 8.9 version, so I installed that package using Chocolatey.
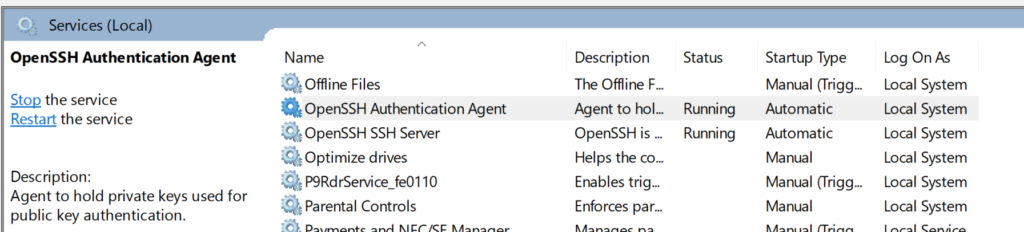
winget install Microsoft.OpenSSH.Beta --version 8.9.1.0Code language: CSS (css)You want to make sure that the Windows SSH agent ends up running automatically on startup, you can check this in the services configuration.
We can then grab the helper script mentioned in the README linked earlier in this post, I have modified this to use the location of npiperelay.exe as installed by Chocolatey for convenience and to avoid the need to edit the file.
wget https://gist.githubusercontent.com/addshore/294a488191529317c16fd2d7e8705a5e/raw/7c71ea90b7252d25603e18da8ee9850f2ead8fe7/wsl-ssh-agent-relay
mkdir -P ~/.local/bin
mv wsl-ssh-agent-relay ~/.local/bin
chmod +x ~/.local/bin/wsl-ssh-agent-relayCode language: JavaScript (javascript)
You should then be able to start the relay with relative ease and set the env var needed for the socket to be used.
${HOME}/.local/bin/wsl-ssh-agent-relay start
export SSH_AUTH_SOCK=${HOME}/.ssh/wsl-ssh-agent.sockCode language: JavaScript (javascript)
There is no output (unless you use the -v flag), but you should see the process running.

But in both Windows and WSL2 you should be able to list the keys from your agent, which will initially be empty.
PS C:\Users\adam> ssh-add -L
The agent has no identities.
adam@adshlb:~$ ssh-add -L
The agent has no identities.If everything is working, then you’ll want to add the script start command and the setting of the SSH_AUTH_SOCK env var to the bottom of your ~/.bashrc file.
I use KeepassXC for the storage of my SSH keys. There is a whole FAQ section on the SSH key integration if you want to get started. Ultimately you need to create a record with SSH keys attached that request to be loaded into the agent. And in the KeepassXC settings, you need to enable SSH Agent integration and select “Use OpenSSH”
This should then load your keys into the Windows agent when your vault is unlocked, and this should pipe through to the WSL agent, making all keys accessible in both Windows and WSL2 when your vault is unlocked. Also removing them when it is locked.
1 thought on “Windows 11 OpenSSH agent to WSL2”